Nesting Tab and Stack navigators in React Native and Expo apps
Using react-navigation you can definitely nest different types of navigators. The term nesting navigators mean that rendering one navigator inside a screen of another navigator.
The possible scenarios of nesting navigators are:
- Stack navigator nested inside drawer navigator
- Tab navigator nested inside stack navigator
- Stack navigator nested inside a tab navigator
In this tutorial, let us examine one of the above scenarios by nesting Tab inside a stack navigator. Whether you are following from the previous tutorial on building a stack navigator using a component-based configuration with the latest version of the react-navigation library, or not, here is the source code of the Expo demo app that is going to be leveraged. This demo app, already has a stack navigator running. You can download the source code from the Github rep here.
Table of contents
🔗- Install dependencies
- Create a mock screen
- Create a tab navigator
- Adding icon and changing active tint color
- Passing
screenOptionsin a Tab Navigator - Updating the header title for the nested child navigator
- Conclusion
Requirements
🔗Requirements for this tutorial is simple. Have the following installed on your local dev environment.
- Node.js version >=
10.x.xinstalled - Have access to one package manager such as npm or yarn
- Latest
expo-cliversion installed or use npx
Do note that, without dwelling much into the configuration of native binaries with the react-navigation library, I am going to use a project that is already generated using expo-cli. If you wish to start afresh, choose the blank template.
Install dependencies
🔗Install the following dependency to setup a Tab Navigator. Run the following command from a terminal window.
yarn add @react-navigation/bottom-tabs
This package is going to allow the app to have a simple tab bar appear at the bottom of the screen and switch between different routes. The demo app we are going to build is going to consist of two tabs. We are going to nest the stack navigator inside the first tab and create a mock screen for the second tab.
Create a mock screen
🔗Even though the current app structure has three different screen components (open src/screens to view them), let us create another screen component called Profile that will act as the second tab. Create a new file called src/screens/Profile.js with the following code snippet:
1import React from 'react';2import { StyleSheet, View, Text } from 'react-native';34function Profile(props) {5 return (6 <View style={styles.container}>7 <Text style={styles.text}>Profile Tab</Text>8 </View>9 );10}1112const styles = StyleSheet.create({13 container: {14 flex: 1,15 justifyContent: 'center',16 alignItems: 'center',17 backgroundColor: '#ebebeb'18 },19 text: {20 color: '#101010',21 fontSize: 24,22 fontWeight: 'bold'23 }24});2526export default Profile;
Create a tab navigator
🔗In this section, let us set up a basic Tab navigator. Start by renaming the file MainStackNavigator to AppNavigator.js in the directory src/navigation.
After the renaming, the routes config file, after other import statements, import the createBottomTabNavigator from @react-navigation/bottom-tabs as well as the Profile screen component.
1import * as React from 'react';2import { NavigationContainer } from '@react-navigation/native';3import { createStackNavigator } from '@react-navigation/stack';4// add this after other import statements5import { createBottomTabNavigator } from '@react-navigation/bottom-tabs';67import Home from '../screens/Home';8import Detail from '../screens/Detail';9import Settings from '../screens/Settings';10// add this after other import statements11import Profile from '../screens/Profile';
Then create an instance of the createBottomTabNavigator called Tab as below:
1// after other instances2const Tab = createBottomTabNavigator();
Next, create a function called MainTabNavigator(). Using Tab.Navigator you can define the structure of the routes and use Tab.Screen you can define each of the routes.
Let us define tab routes for now: Home and Profile.
1function MainTabNavigator() {2 return (3 <Tab.Navigator>4 <Tab.Screen name="Home" component={Home} />5 <Tab.Screen name="Profile" component={Profile} />6 </Tab.Navigator>7 );8}
Now, in the MainStackNavigator() instead of passing the Home screen, let us pass the MainTabNavigator.
1<Stack.Screen name="Home" component={MainTabNavigator} />
Lastly, to make all of this work, open App.js file in the root of the project and modify the statement that imports the MainStackNavigator with the correct file name.
1import React from 'react';23// make sure this matches the file name of navigator config4import MainStackNavigator from './src/navigation/AppNavigator';56export default function App() {7 return <MainStackNavigator />;8}
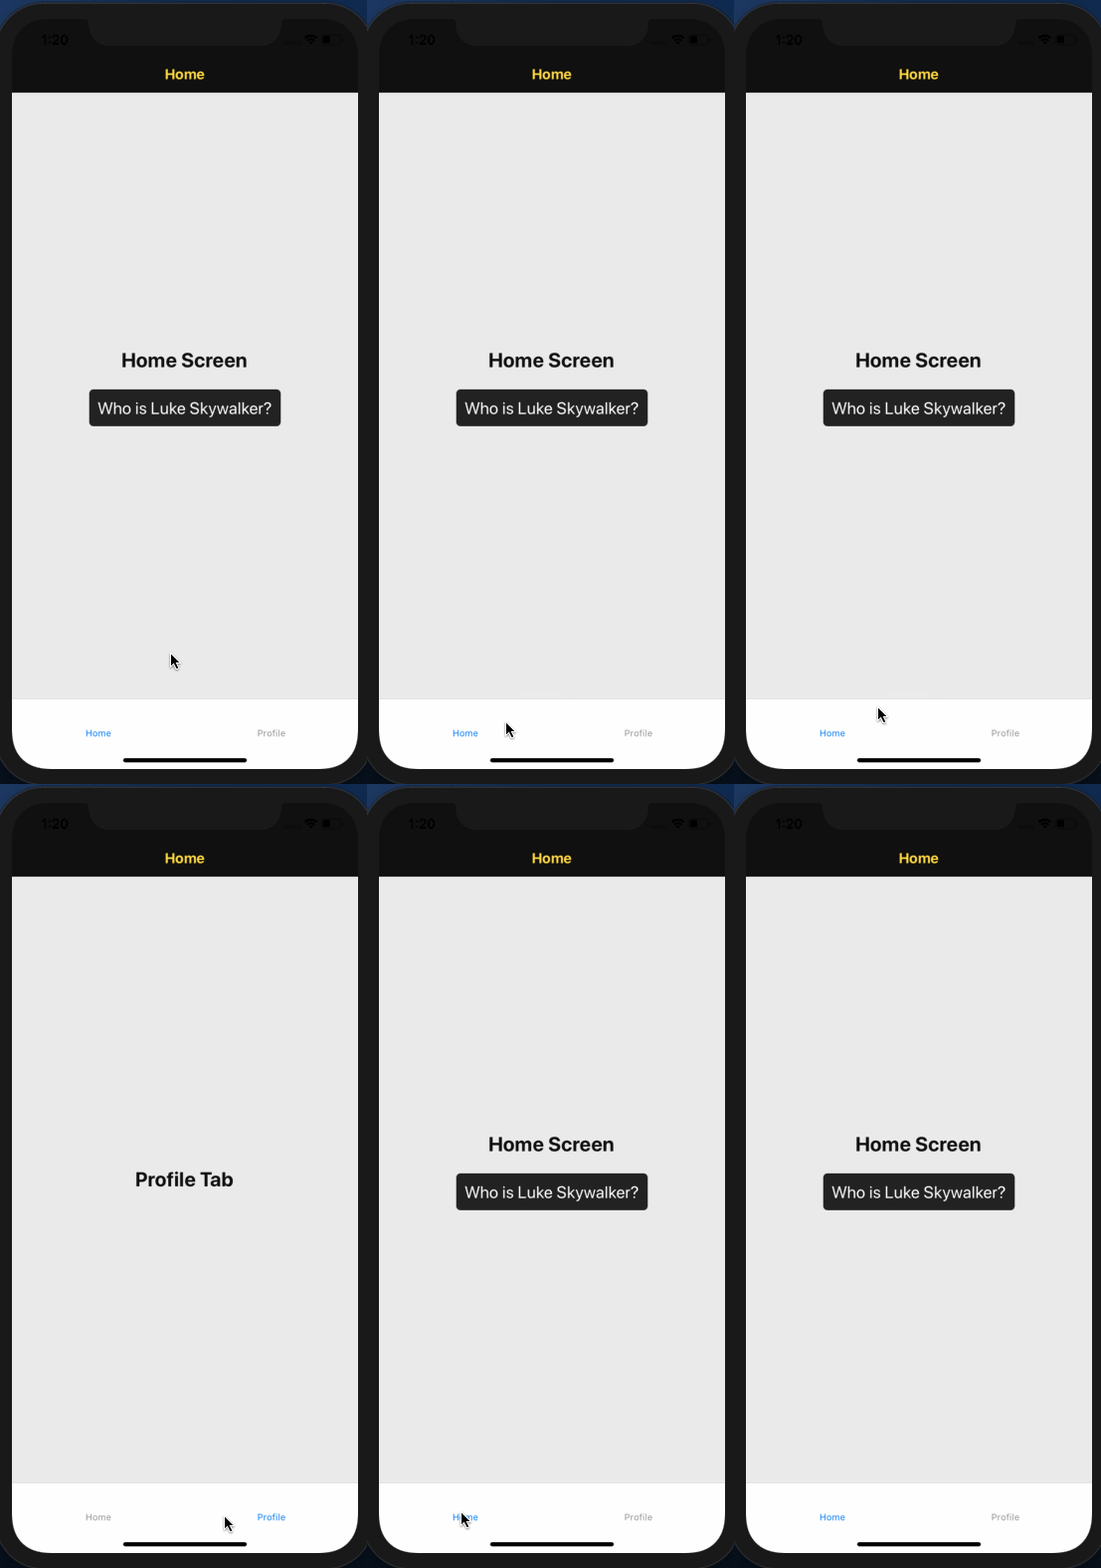
Go back to the terminal window, execute expo start and open up an Expo client inside a simulator or a real device. You are going to get the following result.
Adding icon and changing active tint color
🔗From the last image, you notice that the active tab is highlighted by a tint color of blue and the non-active tab is of gray. Let us change this tint color.
Open AppNavigator.js file at Tab.Navigator add a prop called tabBarOptions. This prop allows you to customize the tab bar shared between different routes.
Add the following:
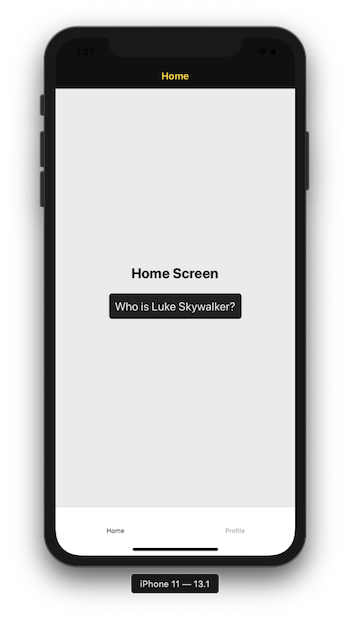
1<Tab.Navigator2 tabBarOptions={{3 activeTintColor: '#101010'4 }}5>6 {/* rest remains same */}7</Tab.Navigator>
Go to the simulator device, you are going to notice that the active tab bar label has a color of black from the previous blue.
Let us add some icons to the tab bar. Start by importing the Ionicons from @expo/vector-icons.
1import { Ionicons } from '@expo/vector-icons';
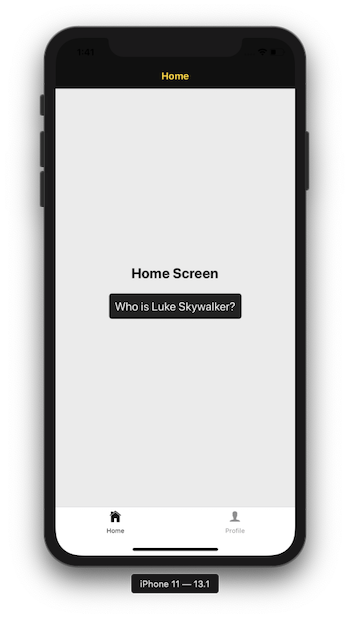
Then, in each Tab.Screen, add an options prop that is going to have a property of tabBarIcon. This function returns the component Ionicons. Pass the arguments color and size you can maintain the active tint color.
1<Tab.Navigator2 tabBarOptions={{3 activeTintColor: '#101010'4 }}5>6 <Tab.Screen7 name="Home"8 component={Home}9 options={{10 tabBarIcon: ({ color, size }) => (11 <Ionicons name="ios-home" color={color} size={size} />12 )13 }}14 />15 <Tab.Screen16 name="Profile"17 component={Profile}18 options={{19 tabBarIcon: ({ color, size }) => (20 <Ionicons name="ios-person" size={size} color={color} />21 )22 }}23 />24</Tab.Navigator>
Here is the output:
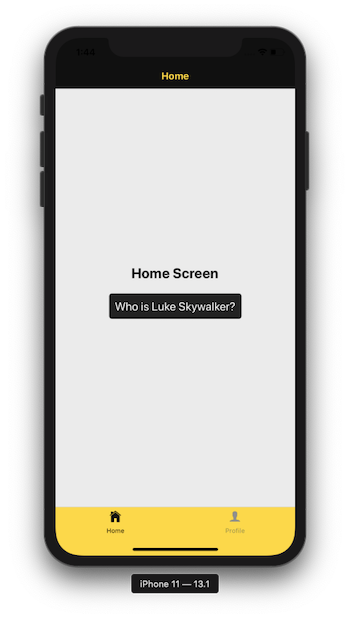
You can even change the background of the tab bar by adding a style property to tabBarOptions.
1<Tab.Navigator2 tabBarOptions={{3 activeTintColor: '#101010',4 style: {5 backgroundColor: '#ffd700'6 }7 }}8>9 {/* rest remains same */}10</Tab.Navigator>
Here is the output for the above snippet:
Passing screenOptions in a Tab Navigator
🔗The previous section is one way to add icons to each route or screen in the tab bar. There is another way you can do it by passing screenOptions in the wrapper Tab.Navigator. This prop is used to modify or add common styles to a navigator.
1function MainTabNavigator() {2 return (3 <Tab.Navigator4 tabBarOptions={{5 activeTintColor: '#101010',6 style: {7 backgroundColor: '#ffd700'8 }9 }}10 screenOptions={({ route }) => ({11 tabBarIcon: ({ color, size }) => {12 let iconName;13 if (route.name == 'Home') {14 iconName = 'ios-home';15 } else if (route.name == 'Profile') {16 iconName = 'ios-person';17 }18 return <Ionicons name={iconName} color={color} size={size} />;19 }20 })}21 >22 <Tab.Screen name="Home" component={Home} />23 <Tab.Screen name="Profile" component={Profile} />24 </Tab.Navigator>25 );26}
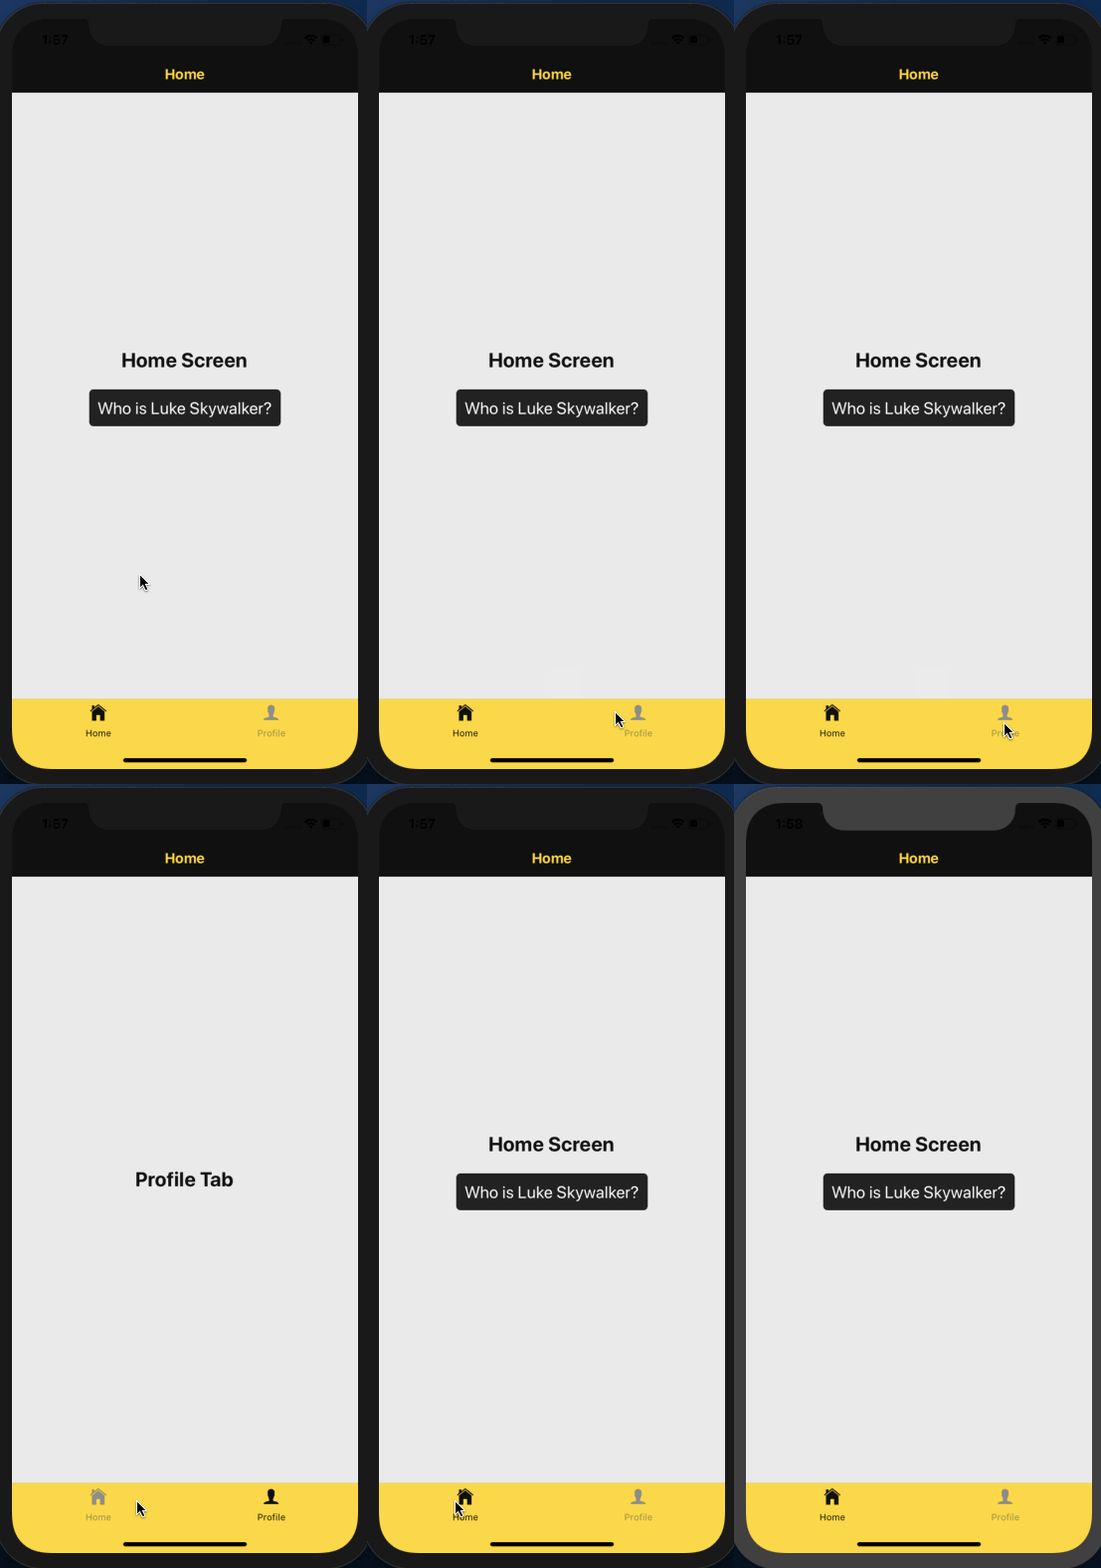
There is no change in the functioning of the tab navigator from the previous section, as you can notice below:
Updating the header title for the nested child navigator
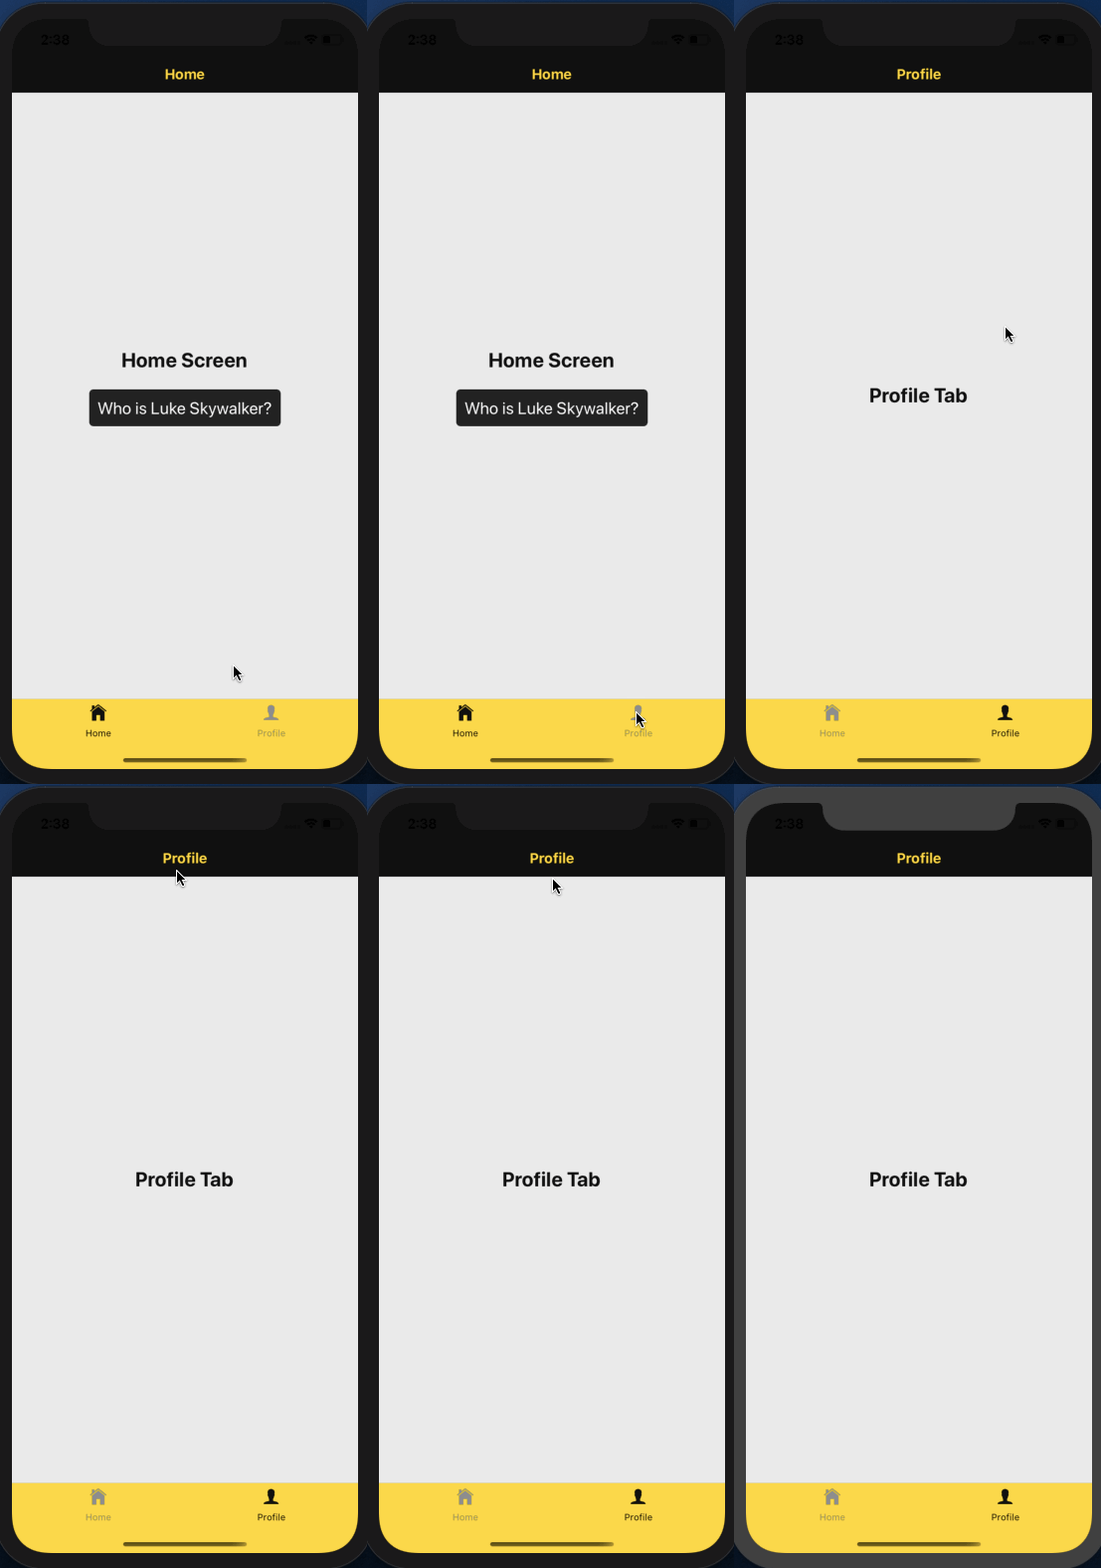
🔗Right now the title for each tab screen is going to be the same. This is because the root navigator (which, here is the Stack Navigator) structure is going to look at its immediate children, which are Home, Detail and Settings screen. In the current scenario, if you are to set the title for the Profile screen passing the prop options, it is not going to work.
This is because the Profile screen is a child of the Tab Navigator and not Stack Navigator. The tab navigator is nested inside the Stack navigator and thus, Profile is not the immediate child to Stack Navigator.
For each tab to have its own title (since the tab navigator is nested inside the stack navigator), you have to determine the title for a specific tab screen based on the navigation state from the property route.state.
This can be done by defining a helper function called getHeaderTitle that has route as its parameter. Why pass route? Because it contains the state property which refers to the child's navigator state and the value of the currently active route name can be obtained from this state.
Add a function called getHeaderTitle in AppNavigator.js file.
1function getHeaderTitle(route) {2 const routeName = route.state3 ? route.state.routes[route.state.index].name4 : route.params?.screen || 'Home';56 switch (routeName) {7 case 'Home':8 return 'Home';9 case 'Profile':10 return 'Profile';11 }12}
Then, as per the recommended way, add the options prop to the Stack.Screen route whose value is Home.
1<Stack.Screen2 name="Home"3 component={MainTabNavigator}4 options={({ route }) => ({5 headerTitle: getHeaderTitle(route)6 })}7/>
Now, when visiting the Profile tab, you are going to get the desired title in the header.
Conclusion
🔗Congratulations! You’ve completed this tutorial.
In this tutorial, we discuss only one scenario of nesting navigators. The main objective here is to get familiar with the component-based configuration of the Tab Navigator in the latest version of the react-navigation library.
Here is the link to the complete Tab Navigator API here I'd recommend you to check.
You can find the complete code for this tutorial at this GitHub repo.
Originally published at Heartbeat.fritz.ai
More Posts
Browse all posts